Amelia Davis, founder of Decorants , invites you to explore a world of interior design and home decor. Discover inspiration, tips, and resources to transform your space into a personalized haven of style and comfort.
Table of Contents
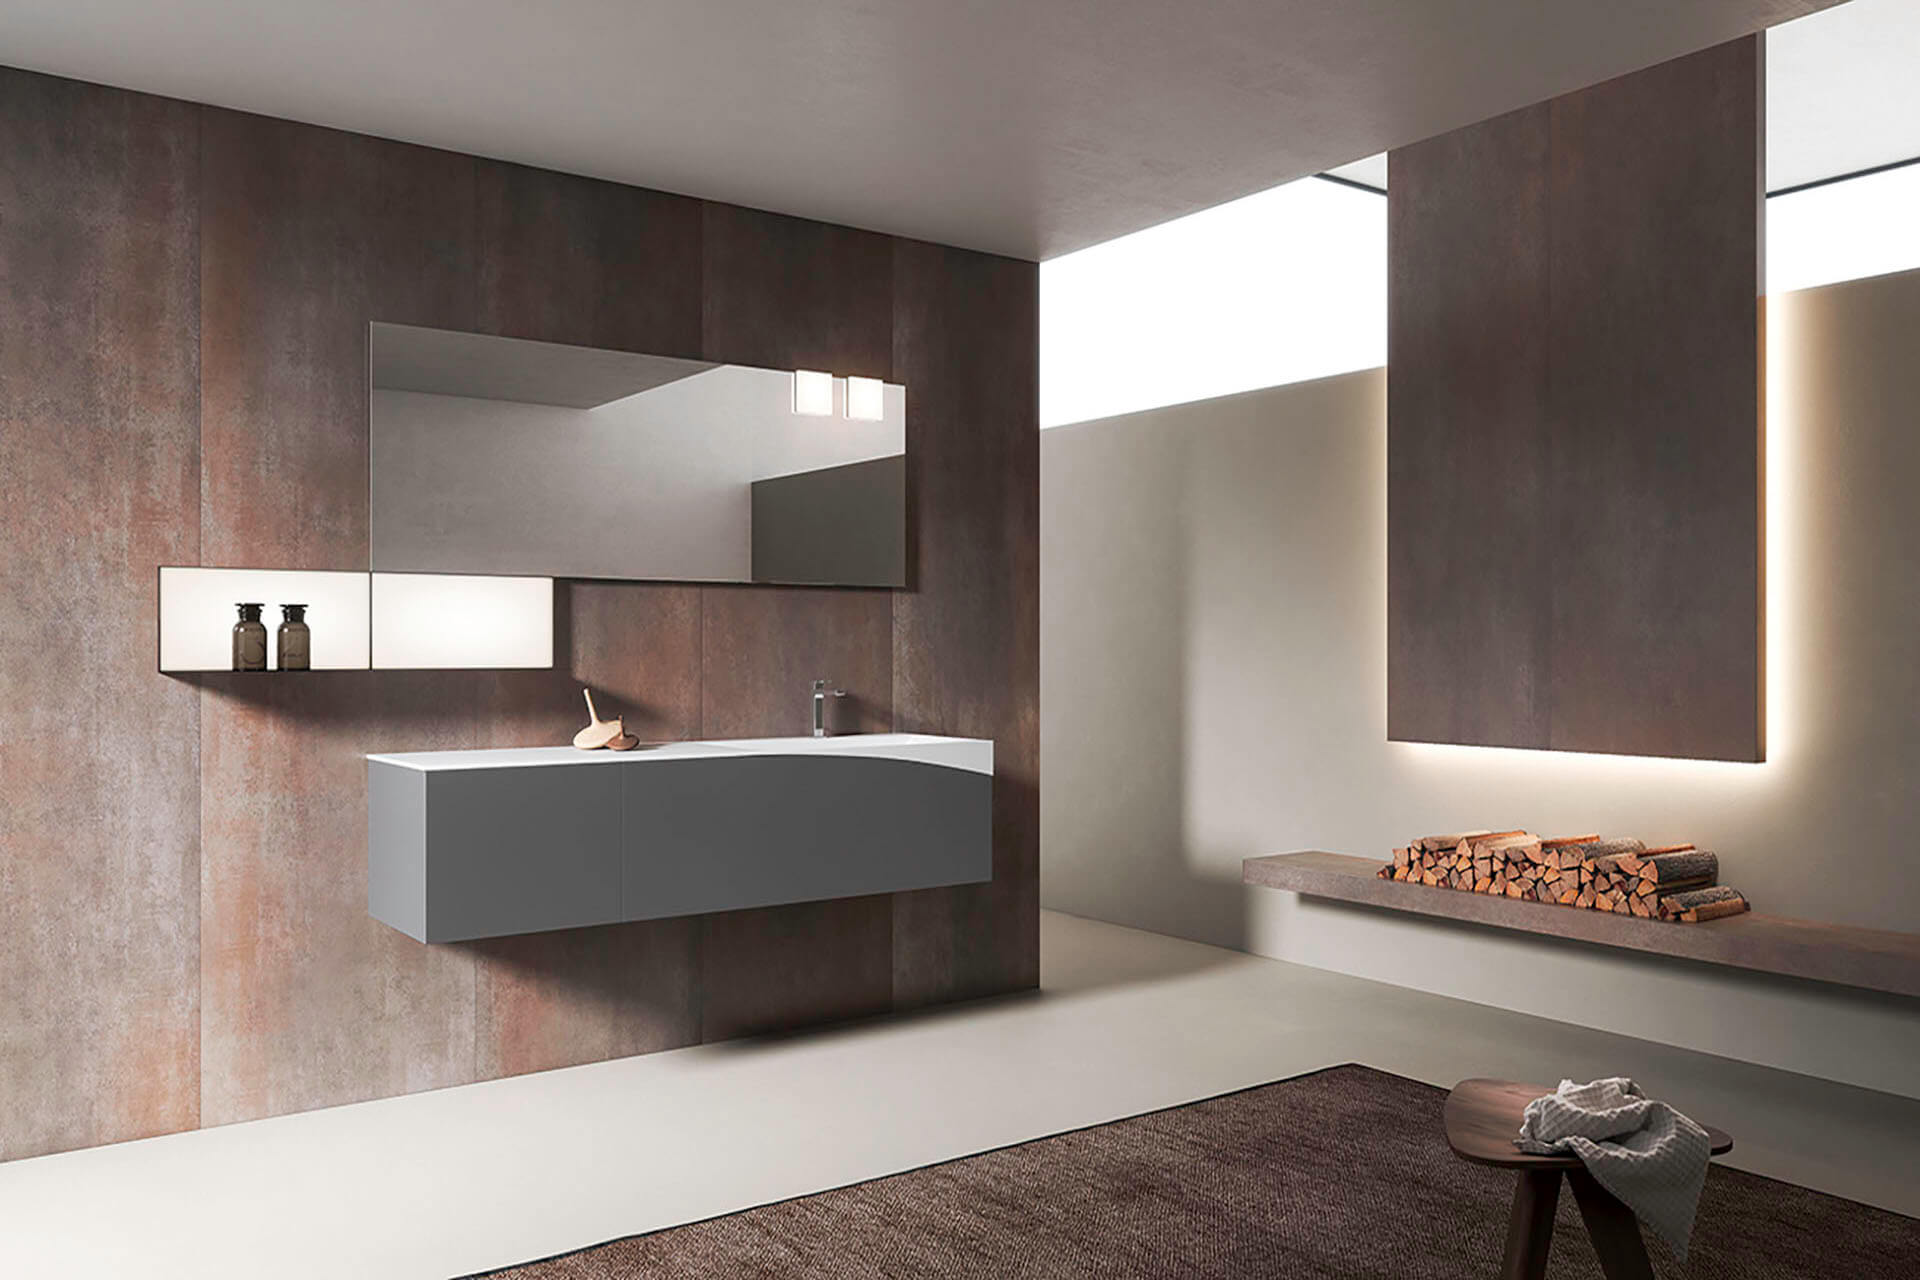
Cabinets play a massive role in the look of a space. Be It bedroom, kitchen, or bathroom, they can make or break the curb appeal. After years of use, Cabinets may lose their polished look due to many reasons.
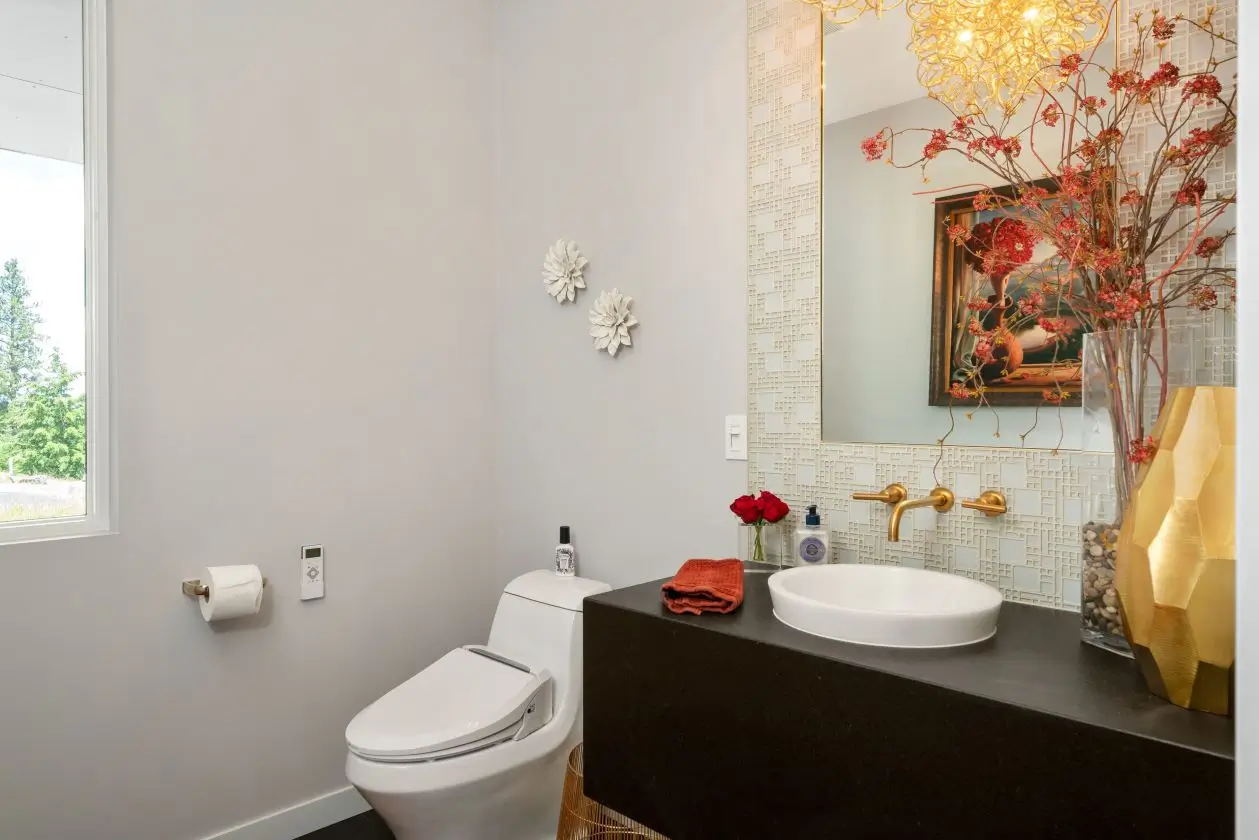
Cabinet painting can help revive the look of the space in a cost-effective way. Even people who don’t like the painting process have started entertaining the possibility of repainting bathroom cabinets after considering the price of buying a new one. Cabinet painting can give your bathroom a new and refreshed look.
First, you have to free the drawers by removing every object inside. Remove the drawers and label them to identify where each part belongs. Move the cabinet to a work area or if you are painting it in the bathroom itself, make sure there is no drip or spill of paint by spreading a cloth or paper around. You can also wrap painters’ tape to parts that you have to protect, like the joints of the cabinet. Using a screwdriver or drill, remove the front doors and components that can be removed for convenience to paint.
The next step in the painting process is cleaning. Clean the exterior and interior of the parts that you have to paint. It is likely that a cabinet in the bathroom will have grease and soap sedition, which may be a result of water and soap foam splashing and accumulating over time.

You can use a TSP or other less toxic substances for cleaning. TSP solution can cause mild skin irritation, so it’s essential to wear rubber gloves while working with them. TSP and phosphate-based soap solutions are banned in some places. If that’s the case, find a Tsp substitute for the purpose.
Inspect the interior and exterior of the parts you are panting to find any nicks or cracks. It is always better to use a putty knife to close it by covering it with wood putty. Sand it using sand paper after the putty is dried.

You can do sanding with grit 220 sandpaper. It will help the paint and primer stick to the cabinet’s surface. After thoroughly drying the cabinet, wipe it with a tack cloth to remove any remaining dust. The aim of sanding is to roughen up the surfaces so that it accepts paint.

The next step is applying primer. Apply it evenly to the roughened-up surfaces that need panting with the help of a roller, sprayer, or brush. A sprayer will be the best option for this. If you apply with a brush, make sure you use it smoothly and evenly without leaving visible brushstrokes. Then the primer should dry completely. You can sand the primer slightly if it is required. Ask the primer manufacturer regarding this.

Apply the first coat of painting smoothly over the primed surfaces. A synthetic brush works well with water-based paint, whereas a natural bristle brush is more suited for oil-based paint. A sprayer is also a good option for both paint types. Paint both the sides, and always keep in mind that it will be more comfortable to allow the front portion to dry before moving to the other. Give time for the paint to dry before moving on to the second coat.

Apply the next coat and allow it to dry for as long as t needs to. Get clarification from the manufacturer on how much time it needs. In some cases, it might take more than a week before the cabinets can return to regular use.
Reassemble all the components after the paint is thoroughly dried, and the cabinet can be returned to the bathroom all fresh and new. The cabinet can get a more updated, polished, and fresh look if you replace the old hardware inside them with new ones.
The equipment you’ll need for painting bathroom vanity
You’ll need a list of equipment and tools for this job. Bucket Sponge, Rubber gloves, Marker, Screwdriver, Putty knife, Primer Paint, tray Paint sprayer, and Natural- or synthetic-bristle paintbrush are some tools that’ll be handy for the whole painting process.
You’ll also need to have some Drop cloths, Painter’s tape, TSP (trisodium phosphate) or TSP substitute, Wood putty150-grits paper, Tack cloth, Paint primer, and paint. New hinges, knobs, and pulls will be nice to have as a backup if the old ones get damaged or if you want to replace the old ones.
People are confused about how to paint a bathroom or bathroom cabinets. T can seem a very daunting and lengthy process. But if you have proper knowledge, a clear mindset, determination, and the right equipment and materials, you can easily paint your bathroom cabinet and give it a new and refreshed look within weeks. The happiness you’ll get when seeing an updated cabinet or a ‘refinish bathroom vanity’ is worth going through the effort of painting it.
Amelia Davis, founder of Decorants , invites you to explore a world of interior design and home decor. Discover inspiration, tips, and resources to transform your space into a personalized haven of style and comfort.
All Rights Reserved ©Decorants 2021


0 comments